 Mastering the Techniques
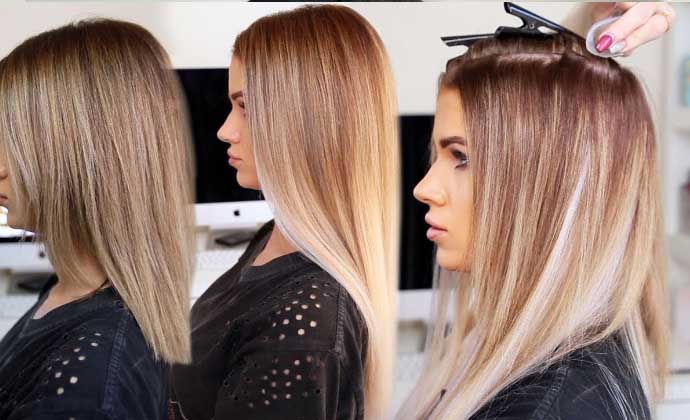
Your primary objective, when cutting your own hair extensions, is to achieve a continuous blend. To do this, you have to use a good cutting technique. The following four techniques are extremely effective for blending hair extensions:
– Point Cutting – A pointcut feathers out the ends of your hair and is perfect for removing blunt lines. To execute this technique, hold the extensions at the ends and cut them upwards into your hair. When doing a pointcut, it is vital to cut directly upwards in line with your hair, so you only remove thickness rather than length.
– Slicing – This method is ideal for shaping your hair at the front around your face and adding layers. Consider the natural length of your hair as its shortest layer. Grasp part of the extensions with your fingers, then cut to the ends from the centre carefully, in a diagonal movement. While cutting, close and open the shears gently, rather than drawing them through your hair.
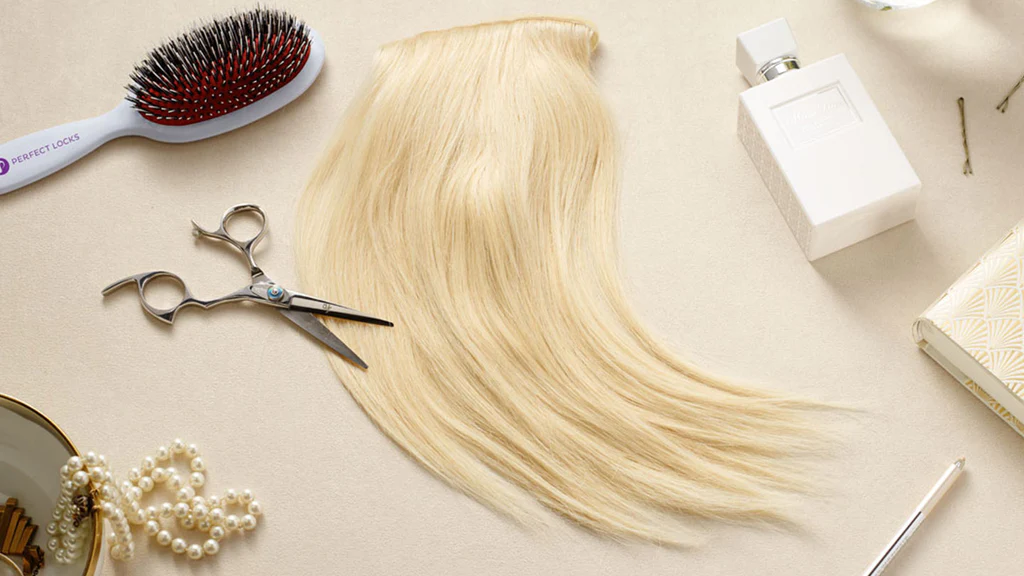
– Blunt Cutting – Once you have shaped and layered your extensions, you might end up with uneven or wispy ends. A blunt cut is ideal in this situation! Just pull your hair forwards and grasp it with your fingers to guide you. Cut directly across for a blunt appearance, or use the point-cutting technique described above for a softer look.
– Slithering – Slithering removes bulk effectively and creates discreet layers within hair extensions. Take a section of your extensions, then – beginning from the midshaft – slide the shears downwards carefully to the ends. The blades should be kept moving and open during this process.
Everyone wants to stop hair protruding from under their extensions. This gives the game away immediately. A great way to make your extensions blend in – particularly if you have a blunt cut or shorter hair – is to hide the lower part of your hair (i.e. the hair beneath your ears). Ensure that these sections are tightly braided and use an elastic tie to fix the ends. Carefully pin and tuck the braid onto your head, so it lies flat and has no unsightly lumps. If your extensions are the clip-in variety, they can be placed directly onto a pinned braid.
Mastering the Techniques
Your primary objective, when cutting your own hair extensions, is to achieve a continuous blend. To do this, you have to use a good cutting technique. The following four techniques are extremely effective for blending hair extensions:
– Point Cutting – A pointcut feathers out the ends of your hair and is perfect for removing blunt lines. To execute this technique, hold the extensions at the ends and cut them upwards into your hair. When doing a pointcut, it is vital to cut directly upwards in line with your hair, so you only remove thickness rather than length.
– Slicing – This method is ideal for shaping your hair at the front around your face and adding layers. Consider the natural length of your hair as its shortest layer. Grasp part of the extensions with your fingers, then cut to the ends from the centre carefully, in a diagonal movement. While cutting, close and open the shears gently, rather than drawing them through your hair.
– Blunt Cutting – Once you have shaped and layered your extensions, you might end up with uneven or wispy ends. A blunt cut is ideal in this situation! Just pull your hair forwards and grasp it with your fingers to guide you. Cut directly across for a blunt appearance, or use the point-cutting technique described above for a softer look.
– Slithering – Slithering removes bulk effectively and creates discreet layers within hair extensions. Take a section of your extensions, then – beginning from the midshaft – slide the shears downwards carefully to the ends. The blades should be kept moving and open during this process.
Everyone wants to stop hair protruding from under their extensions. This gives the game away immediately. A great way to make your extensions blend in – particularly if you have a blunt cut or shorter hair – is to hide the lower part of your hair (i.e. the hair beneath your ears). Ensure that these sections are tightly braided and use an elastic tie to fix the ends. Carefully pin and tuck the braid onto your head, so it lies flat and has no unsightly lumps. If your extensions are the clip-in variety, they can be placed directly onto a pinned braid.
 Additional Tricks and Tips
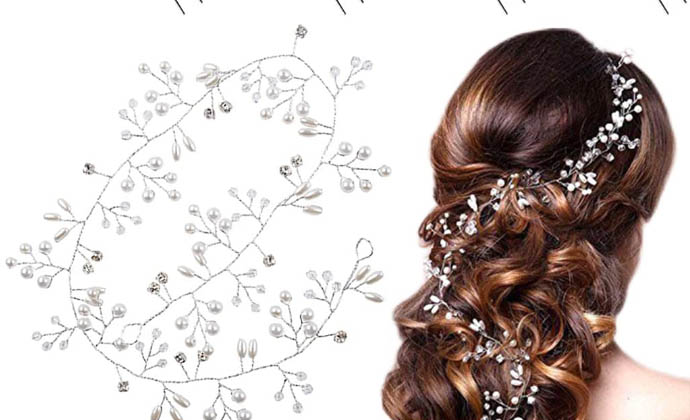
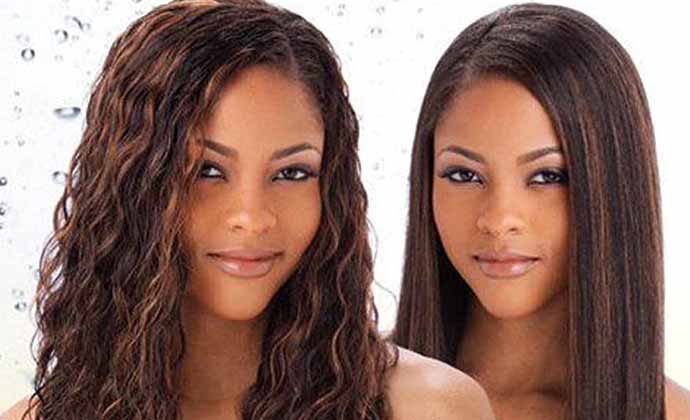
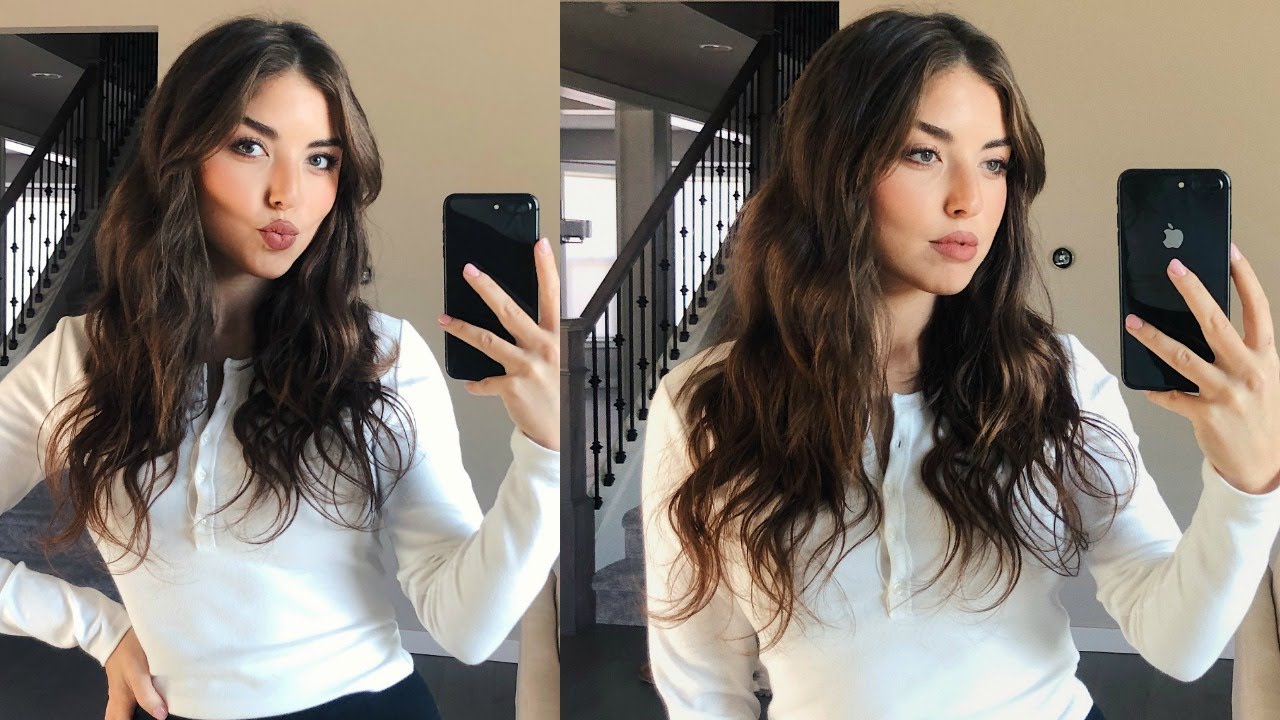
– Opt for Curls or Waves – This is an excellent way to increase the natural appearance of your extensions and make them blend better with your hair.
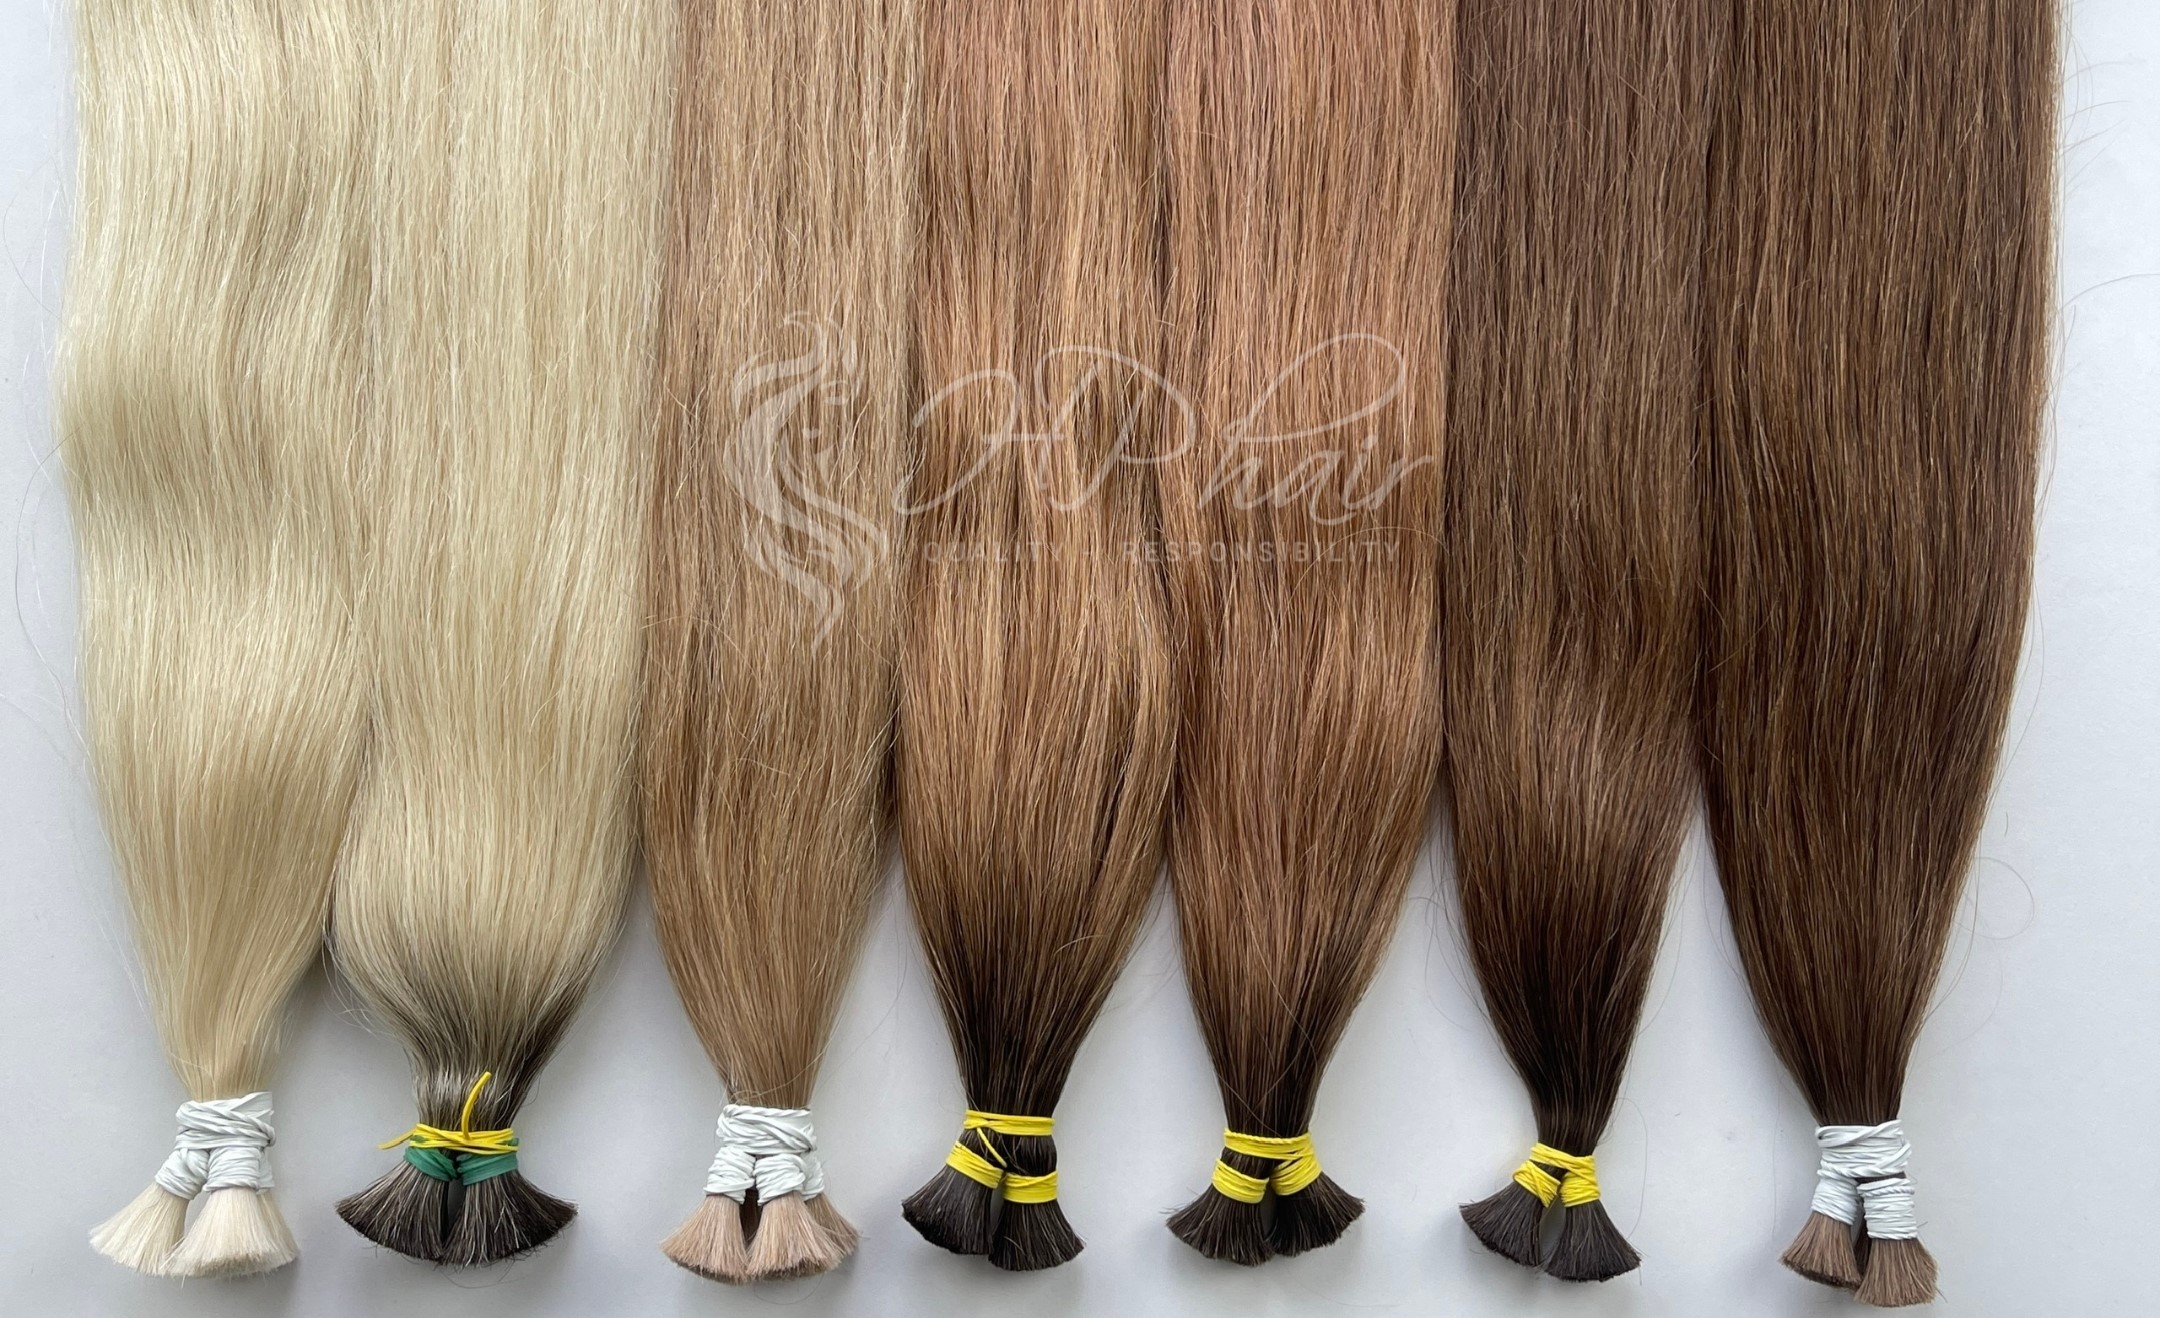
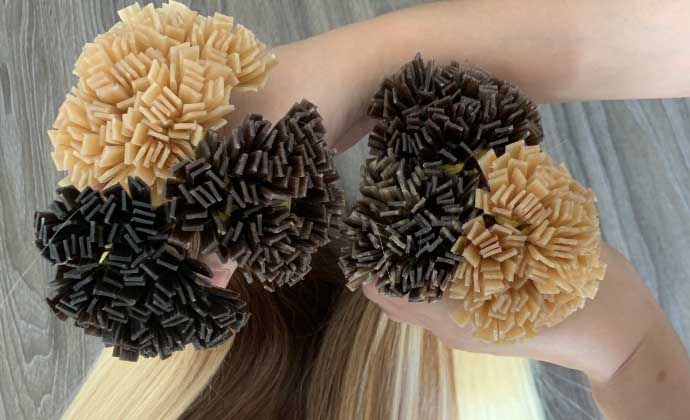
– Be Weight Conscious – If your micro hair are too heavy, they can put your roots under stress. For this reason, when choosing your extensions, you should take the density of your hair into account. A 220-gram set is suitable for thick hair, a 160 to 180-gram set is ideal for thin hair, and a 180 to 200-gram set works well for normal hair.
– Don’t Overdo it – When cutting your hair extensions, it is best to have less natural hair visible on your head at the top. Otherwise, you might look like you have a mullet. By adopting this approach, your natural shorter hair will blend seamlessly with the longer extensions.
– Allow for a Margin of Error – Your hair extensions should be left an inch or longer than the desired length. You can always cut more off later if necessary, and this will save you fretting about having cut too much off.
– Use Numbers – To monitor your layered tape in hair, use a marker or paper tag to number the wefts. This way, when you re-install, you will know what order to use.
Additional Tricks and Tips
– Opt for Curls or Waves – This is an excellent way to increase the natural appearance of your extensions and make them blend better with your hair.
– Be Weight Conscious – If your micro hair are too heavy, they can put your roots under stress. For this reason, when choosing your extensions, you should take the density of your hair into account. A 220-gram set is suitable for thick hair, a 160 to 180-gram set is ideal for thin hair, and a 180 to 200-gram set works well for normal hair.
– Don’t Overdo it – When cutting your hair extensions, it is best to have less natural hair visible on your head at the top. Otherwise, you might look like you have a mullet. By adopting this approach, your natural shorter hair will blend seamlessly with the longer extensions.
– Allow for a Margin of Error – Your hair extensions should be left an inch or longer than the desired length. You can always cut more off later if necessary, and this will save you fretting about having cut too much off.
– Use Numbers – To monitor your layered tape in hair, use a marker or paper tag to number the wefts. This way, when you re-install, you will know what order to use.

Subscribe
Login
0 Góp ý